Making letters in Blender
Create simple letters for your map in Blender and export them as MD3 models.
On this page
This tutorial will teach you how to make simple letters for your map in Blender and export them as MD3 models, along with textures/shaders.
Getting started
- Download and install Blender.
- Open Blender, create a new General project.
- Before starting, install the MD3 export plugin.
- Unzip the file to a location of your choice.
- In Blender, go to
Edit->Preferences->Add-ons - Select
Install...at the top, browse to the extracted file and selectInstall Add-on - Click on the checkbox next to the plugin to enable it. The plugin should now be visible under
File->Export->MD3 (+shaders)
Creating the letters
-
Delete everything in
Scene Collection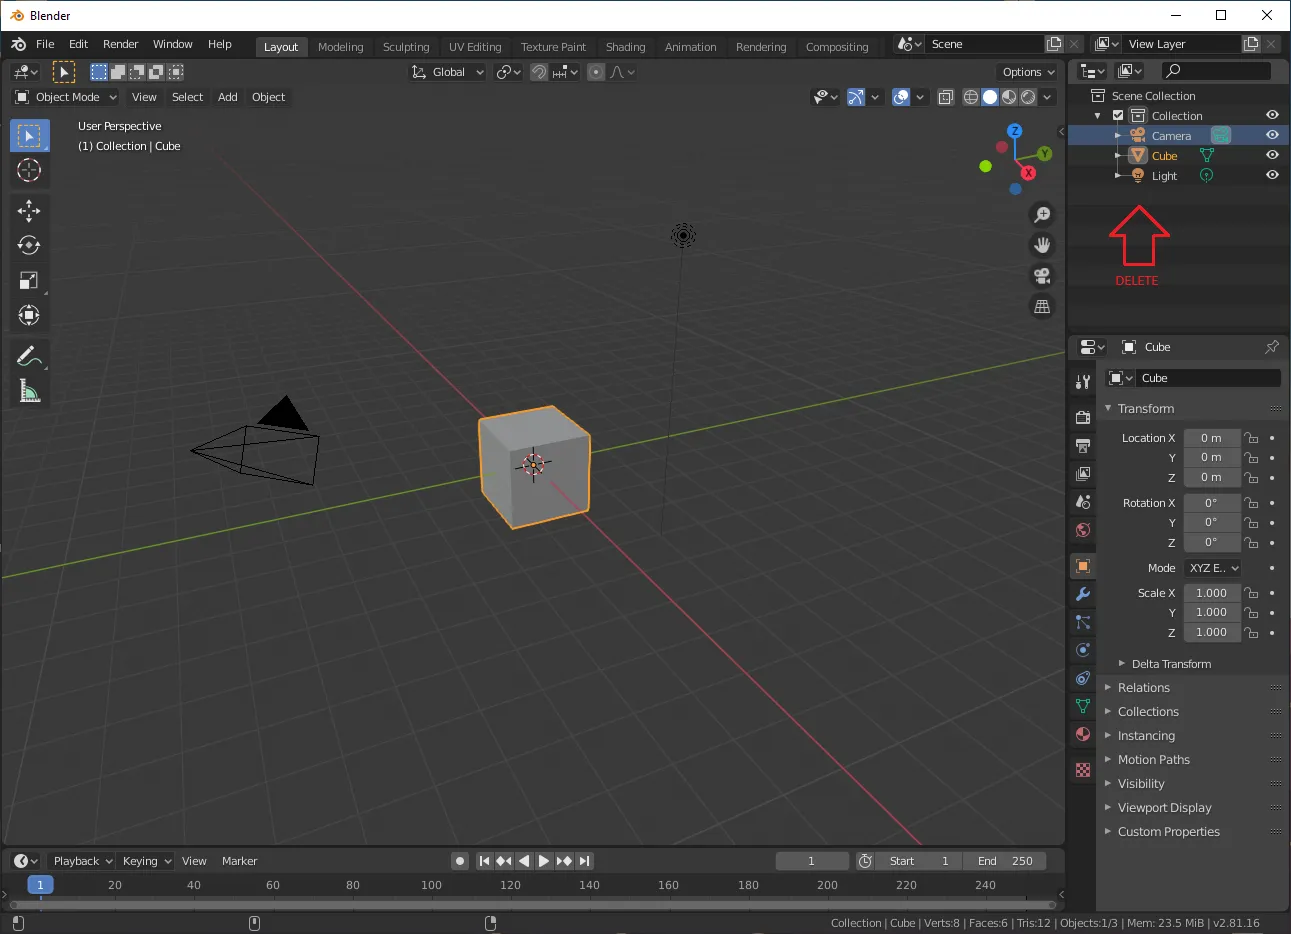
-
Press
Addbutton on top left orShift + Aand selectText -
Go to object data properties menu: green
asymbol on right side menu.- Under
Paragraph->Alignment, set bothHorizontalandVerticalalignment toCenter. - Under
Font, press the folder icon next toRegulartext field and select your desired font. - Unless you want your text to be 2D (why?), go to
GeometryandExtrudethe text to your liking. - Hit
TABto edit your text. - Select
Object Modefrom the top left.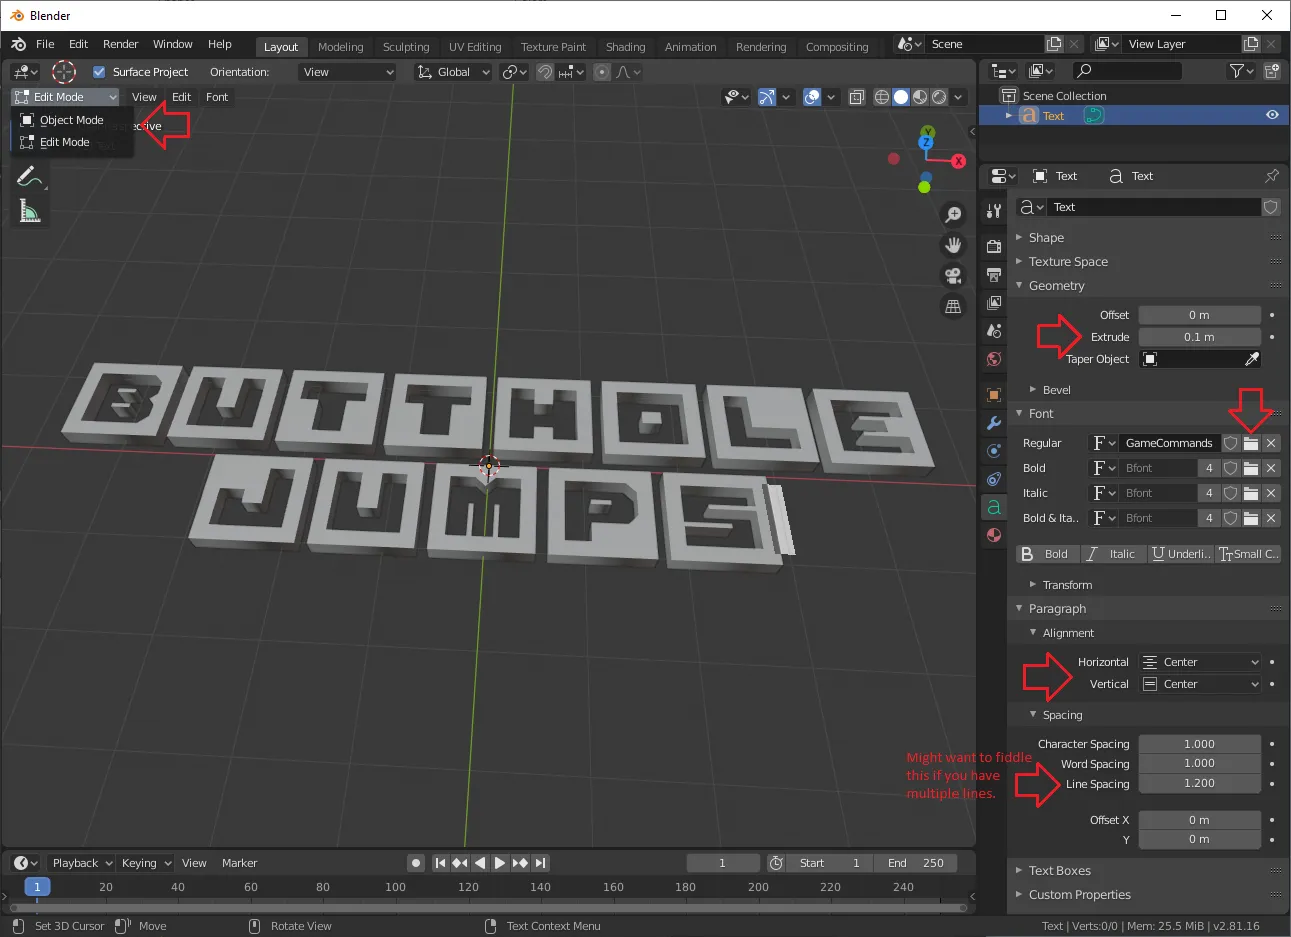
- Under
-
Right click on 3D window and select
Convert to Mesh. -
Under
Object Properties,Scalesection, pump it up like 40x.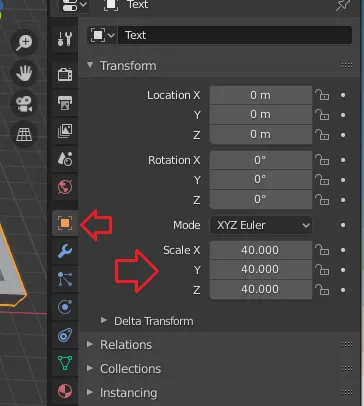
Texturing
-
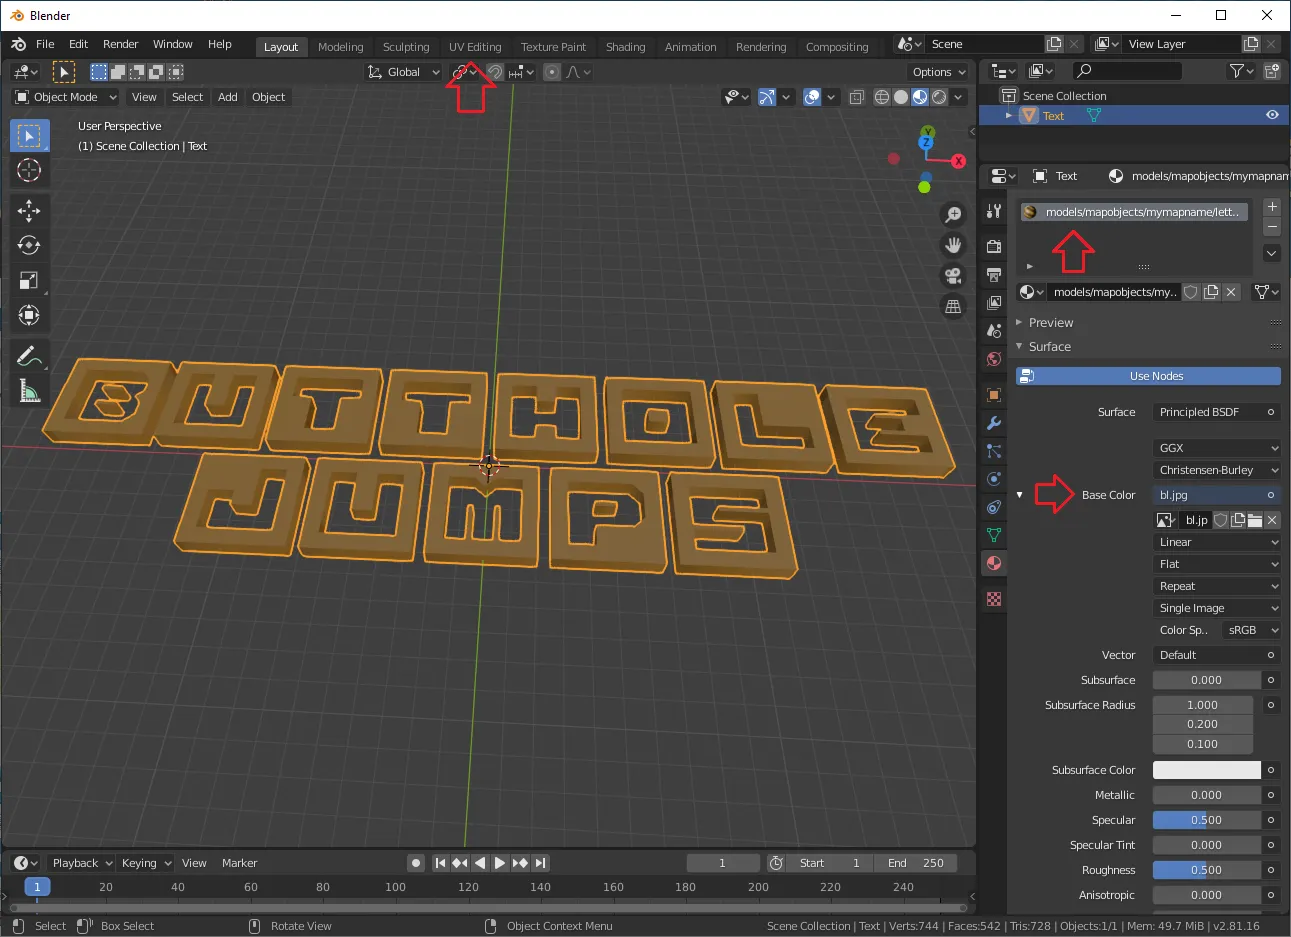
Navigate to
Material Propertiesmenu, red ball thing on right side menu. -
Hit
Newand press the small circle next toBase Colorand selectImage texture. Click the folder icon and find your desired texture. -
Change the material name to match your texture / shader path. If using a shader, do not specify a file extension.
-
Select
UV Editingtab at the top.- On right side window press
Ato select everything, press theUVbutton at the top and selectUnwrap - If you want to scale the texture, press
A->X->Son the left side window and move your mouse to scale.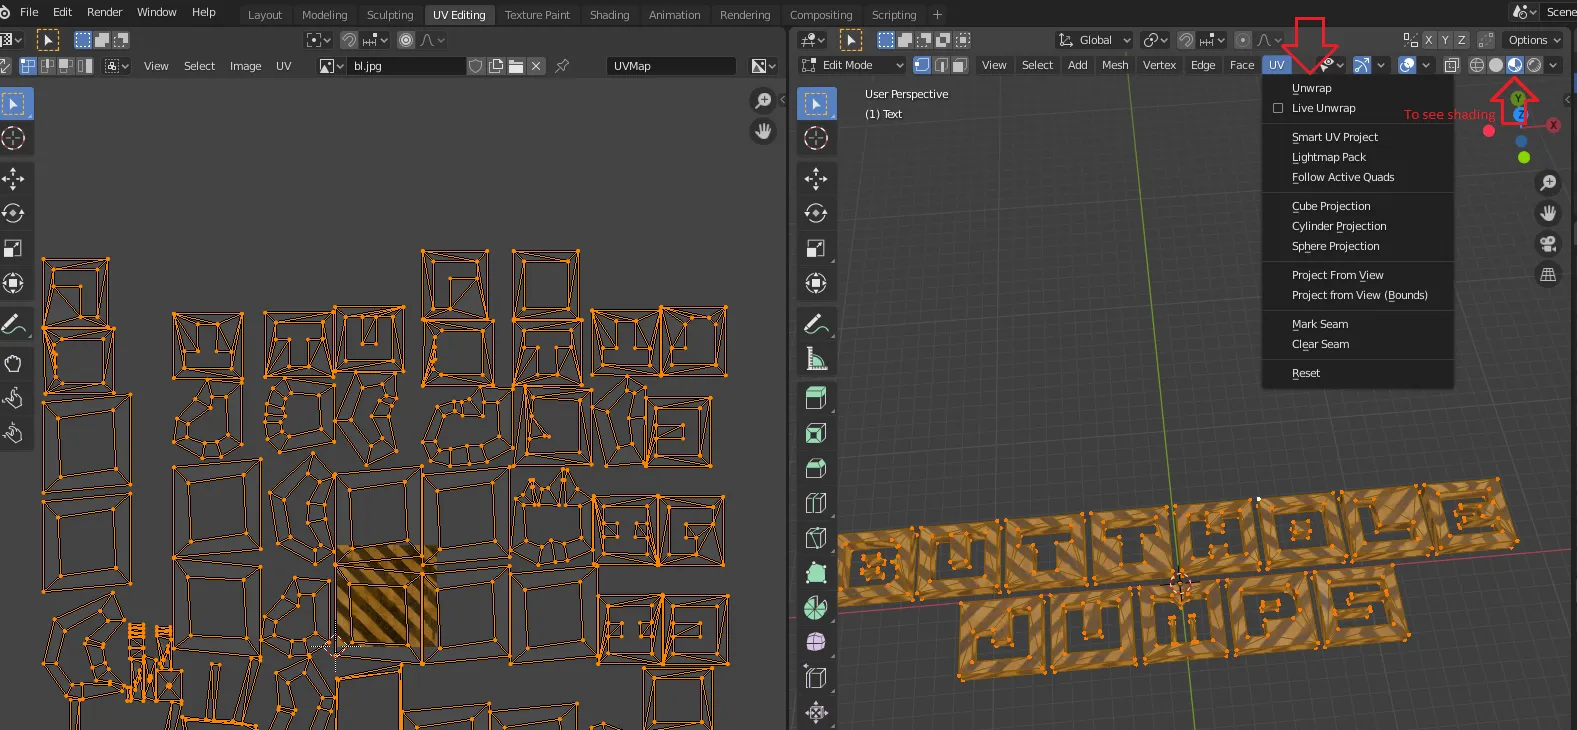
- On right side window press
-
Go back to the
Layouttab at the top- Select
Modifier Propertieson the right,Add Modifier->Triangulate - At the bottom of the 3D view, there are animation controls; set
Endto 1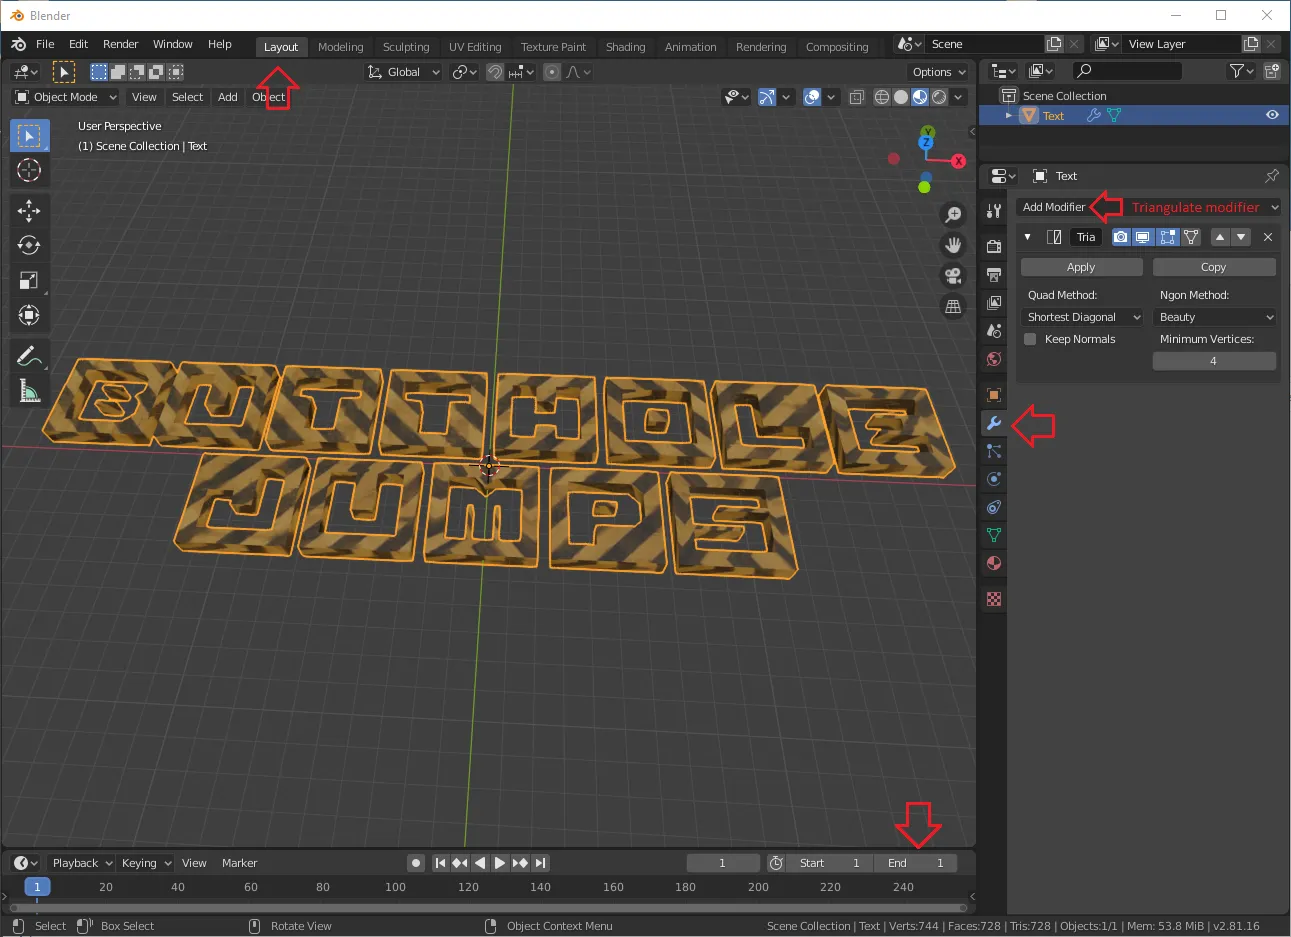
- Select
-
Make sure your object is selected, and go to
File->Export->MD3 (+shaders)
Results
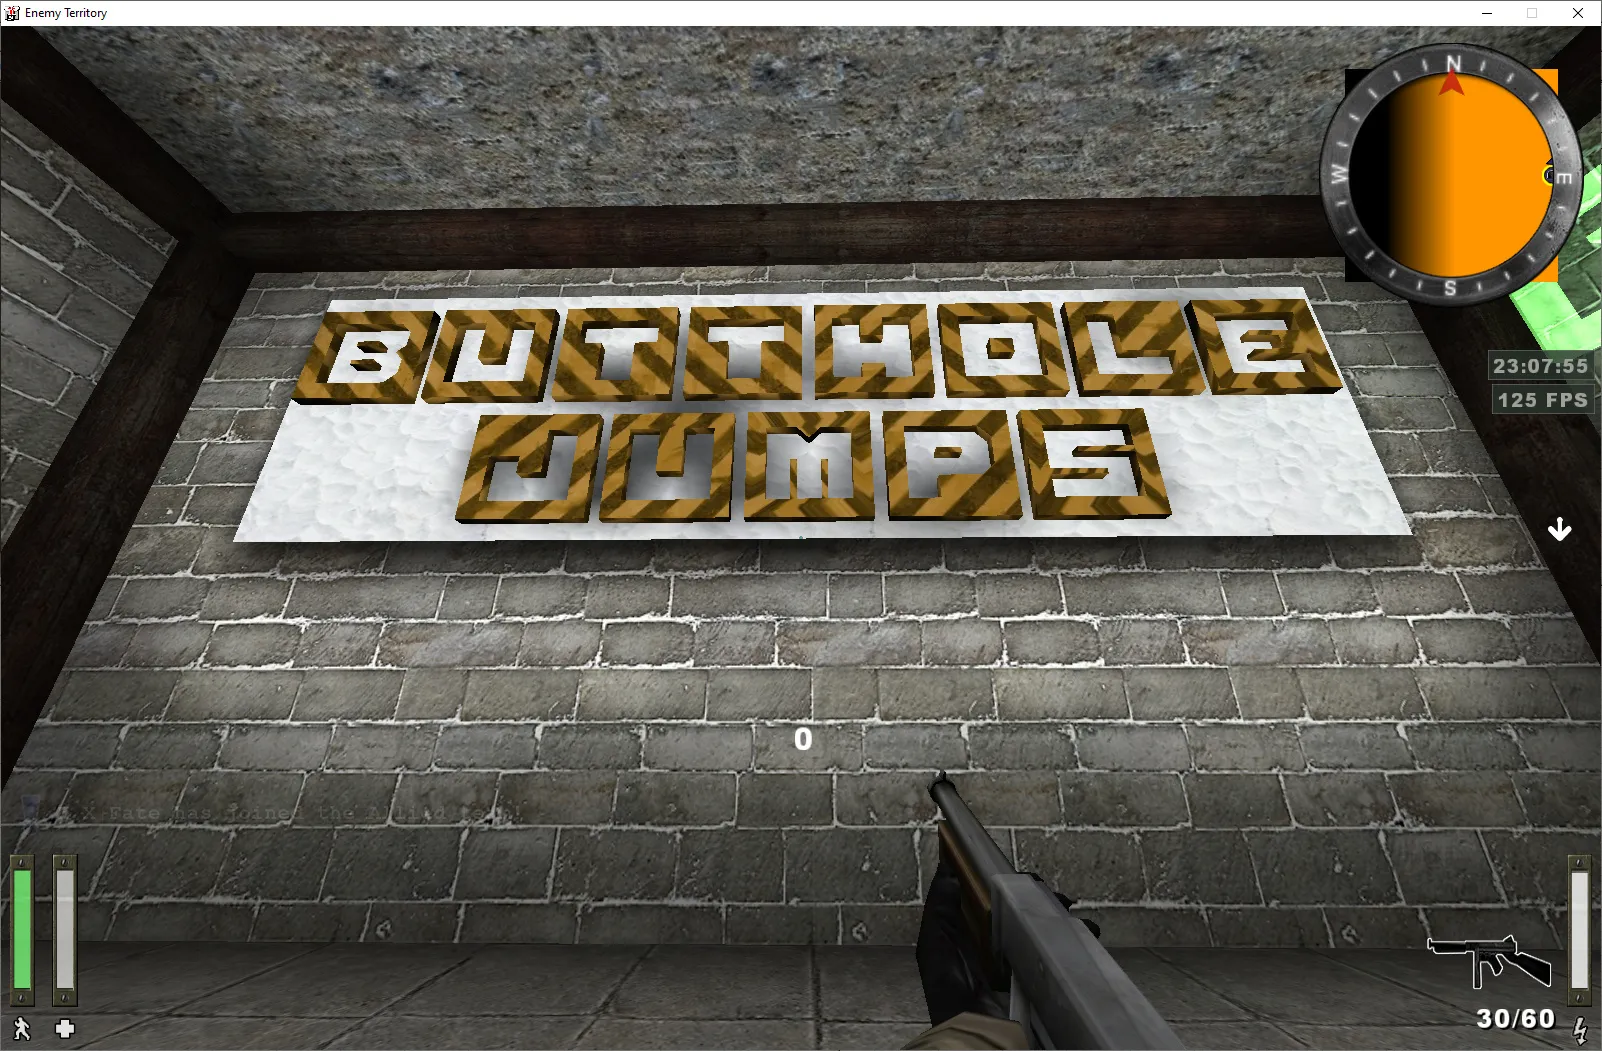
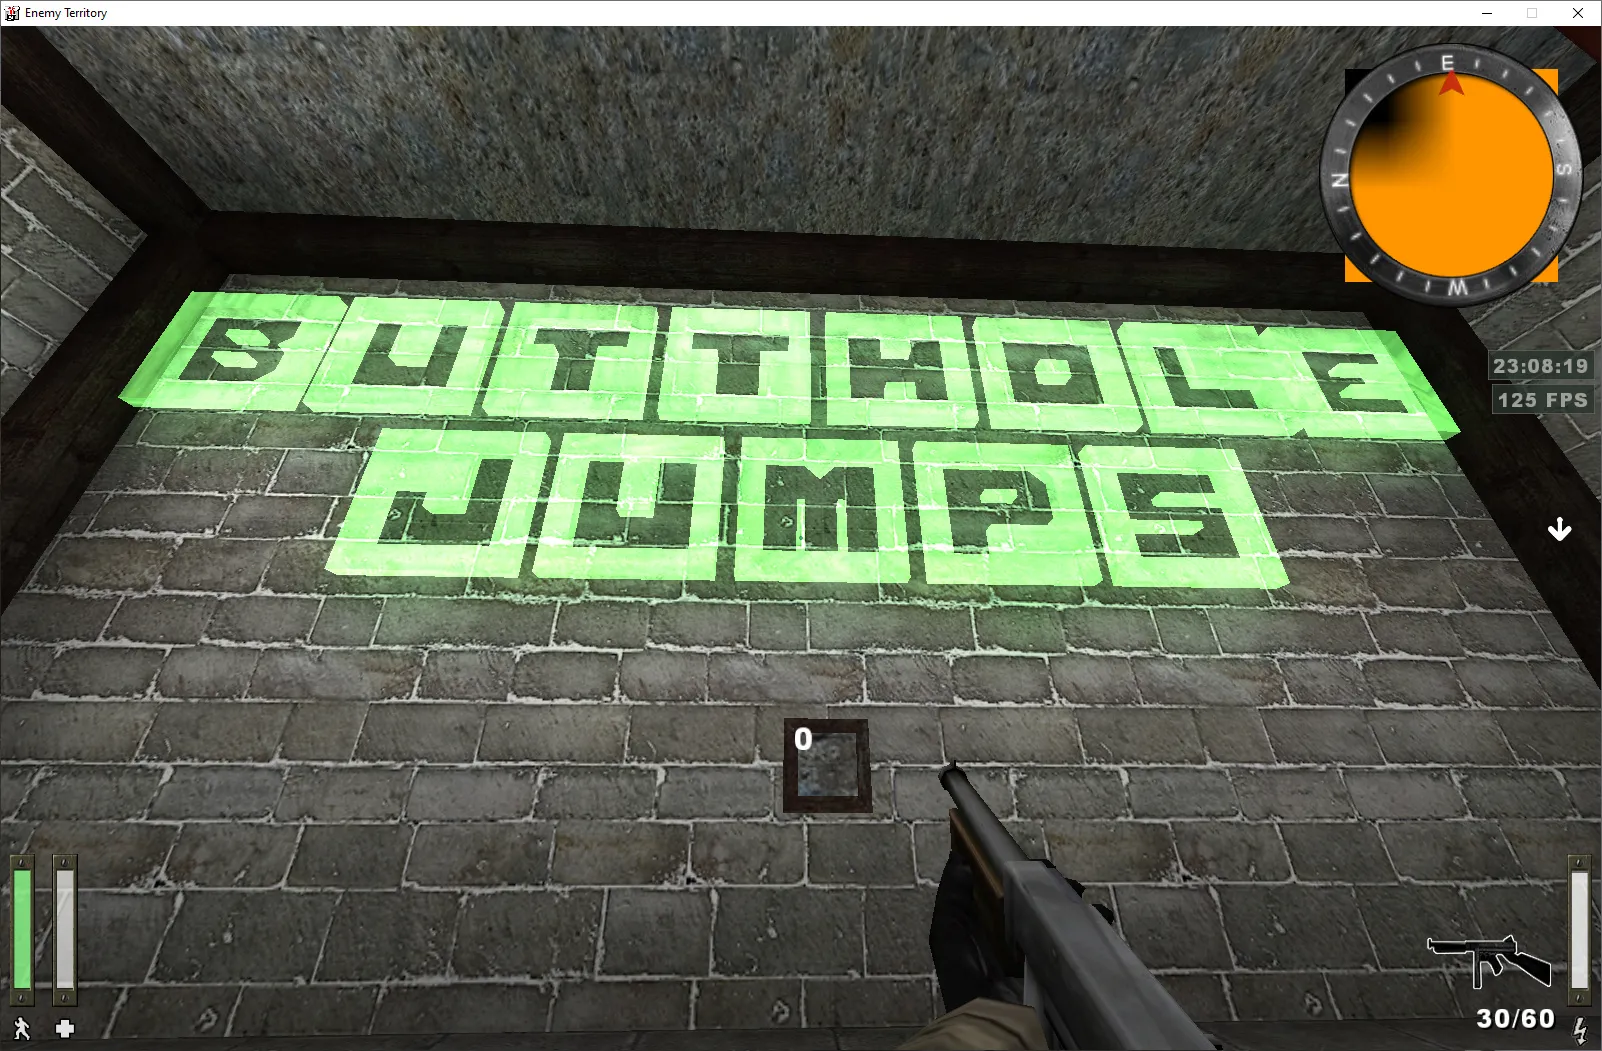
Tutorial by Fate